I set off on my first backpacking journey was when I was 18. I was off to Italy, Greece and Turkey for six months, and while I did start in Milan, I finished my trip in South Africa. I flew out of Canada with the now defunct Canadian Airlines. Those were the days of proper meals with real cutlery. Our dinnerware was Royal Dalton china. One an airline! These days, I feel lucky to get a tiny bag of pretzels for free, but more often than not, have to cough up a few bucks for the carb-laden offerings. So now when I travel, I like to take my own snacks.
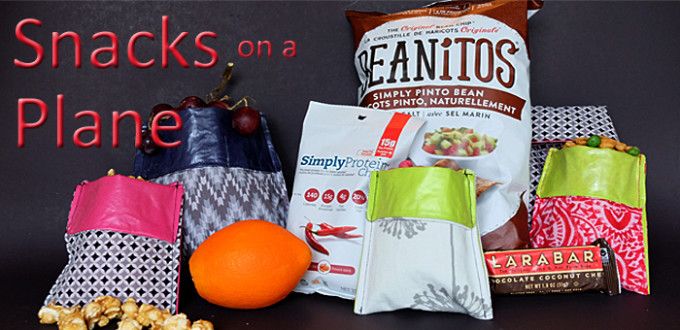
I have a trip coming up where I will be travelling 20+ hours. That means lots of healthy snacks, so I don’t feel like crap when I arrive because I’ve filled up on sugary, salty carbaliciousness. In my effort to help reduce the use of plastic, I created some reusable snack bags to tote my snacks in. They turned out so cute, I thought I would share.
Before I show you how I made them, I’ve compiled a list of 25 of my favourite travel snacks that are fine unrefrigerated. I try to incorporate protein to keep me satiated. I also love fresh fruit when I travel. Airplanes leave me feeling dehydrated and the best thing for that is some juicy fruit. Throw in a bit of sugar for fun, and 20+ hours in economy are a little more pleasant!
25 of My Favourite Travel Snacks
- grapes
- hummus and carrots (if I have room in my liquids bag)
- pistachios
- boiled egg
- popcorn
- cheese and crackers
- apples (sliced) and peanut butter (if I have room in my liquids bag)
- orange (peeled)
- Larabar
- edamame
- Wasabi almonds
- chocolate protein powder (shake into purchased milk once through security)
- candy (sours or licorice)
- chocolate covered almonds
- Beanitos chips
- bean snack mix
- tomato chips
- cubed watermelon
- cherries
- mini chicken wrap
- stuffed dates (soft cheese and walnuts)
- sunflower seeds
- baked treat like banana bread or molasses cookie
- California sushi roll
- Pretzel Crisps
These are just a few of my favourites. I’ll often pack the following for my companion: jerky, power bars, trail mix or granola, cheese strings, dried fruit or fruit leather, pumpkin seeds.
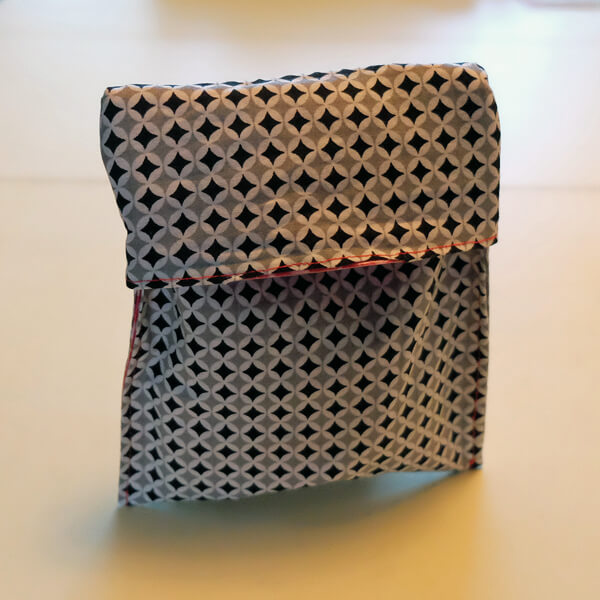
The size of your snack bags depends on you. I made two sizes, one that is a typical sandwich bag size, and the other a bit smaller. The inside is water proof, with the exception of where the needle pierced the fabric at the seams, but it shouldn’t leak as long you don’t carry water it!
I had several scraps of fabric around, so I decided to buy some Heat’n Bond Iron-on Vinyl. It’s kind of like mactac for fabric. The plastic does not contain lead or BPAs and I am comfortable using it. It won’t be heated and there won’t be any liquids in my bags. If you’re not comfortable with this material, perhaps this isn’t the project for you.
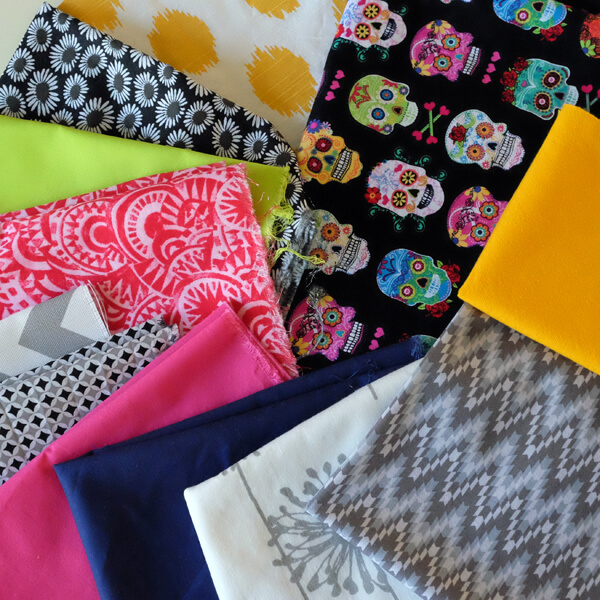
I cut out my vinyl and my fabric pieces.
For the larger bags I made, I cut out two pieces of fabric, 18” x 7”. One of your fabric pieces will be for the outside, the other for the inside.
For my smaller bags, my fabric pieces were 13” x 5”.
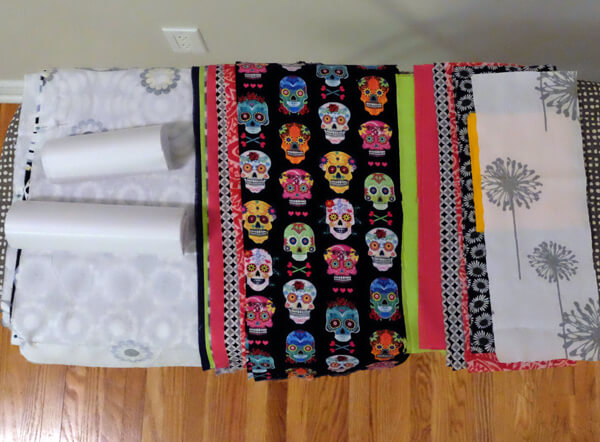
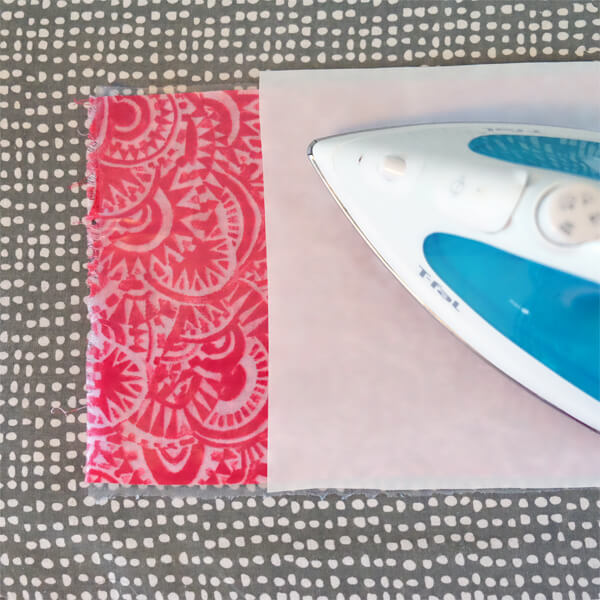
Iron the vinyl onto the inside piece of fabric following the instructions that comes with the vinyl. They are clear and easy to understand.
The remaining instructions are going to be to finish the larger bag. Pin your inside and outside pieces of fabric together, right sides together. Sew around the edge with a ¼” seam allowance, leaving a 3” gap along one of the short ends.
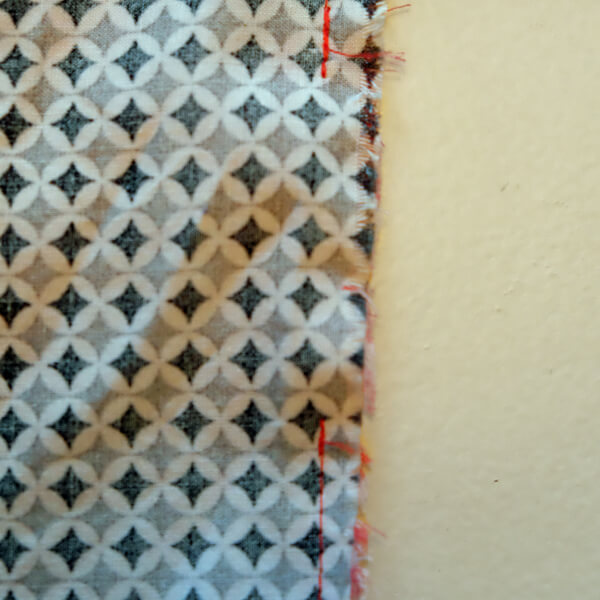
Trim your corners so they are cleaner when you flip your bag right-side out, then go ahead and flip your bag, turning it out through the gap you left.
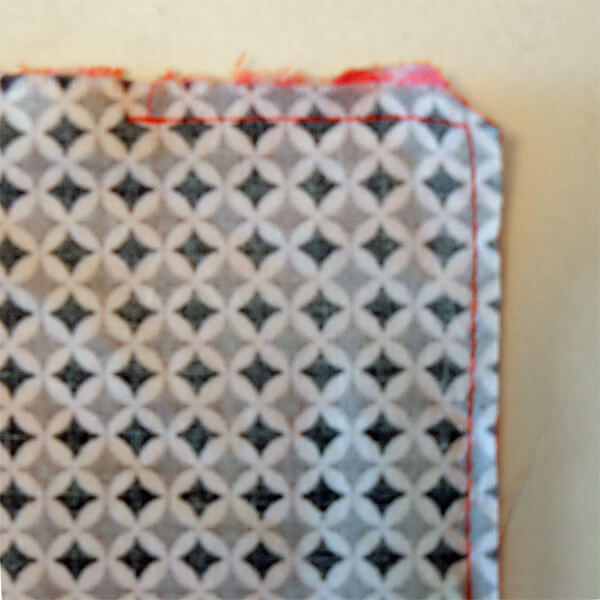
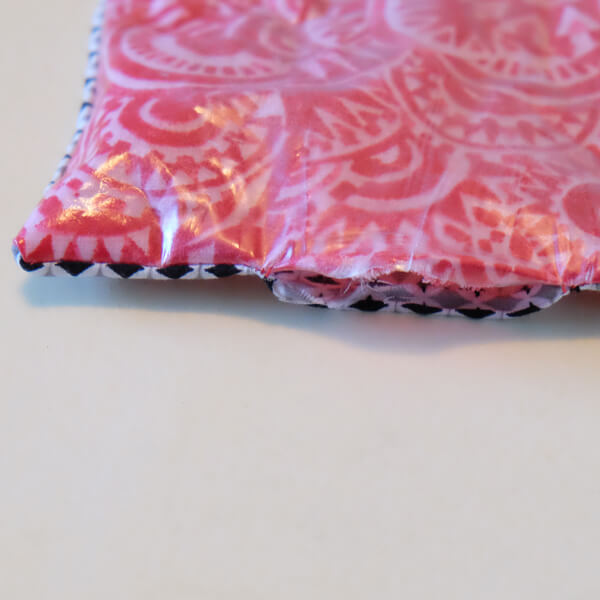
My pieces were very wrinkly at this point. I turned them fabric side up and ironed them, careful not to touch the iron on the vinyl. To be extra careful, you can iron through the vinyl backing.
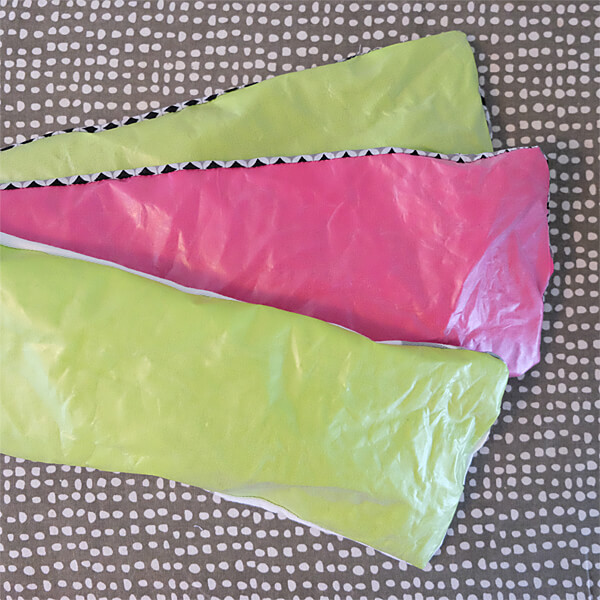
before ironing
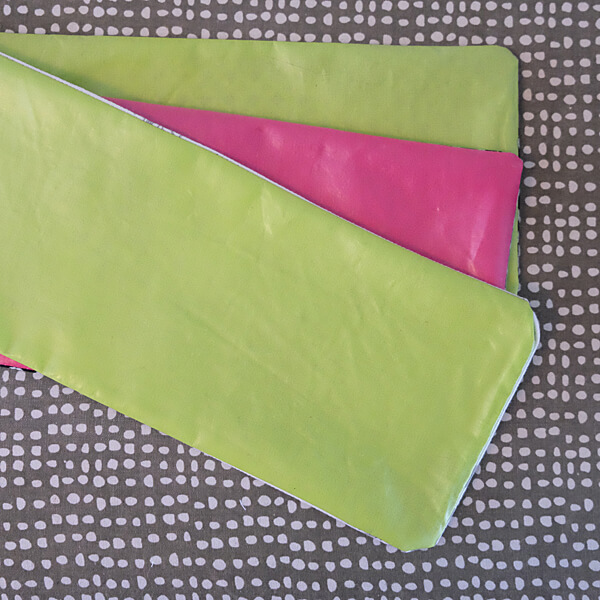
after ironing
Turn the edges of your gap in so it matches the sewn edges. Finger press. I don’t recommend pinning this gap closed, as pins holes in the vinyl will show in the finished project. Sew along that entire side, close to the edge.
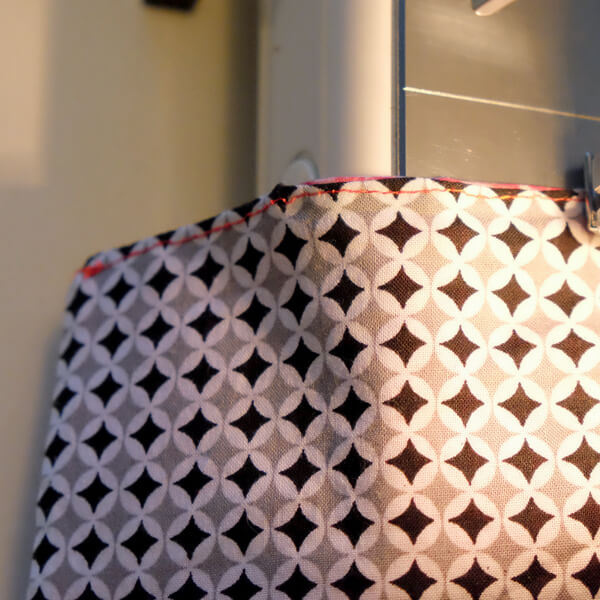
Vinyl side up, fold your bag, leaving an overlap of 2.5”.
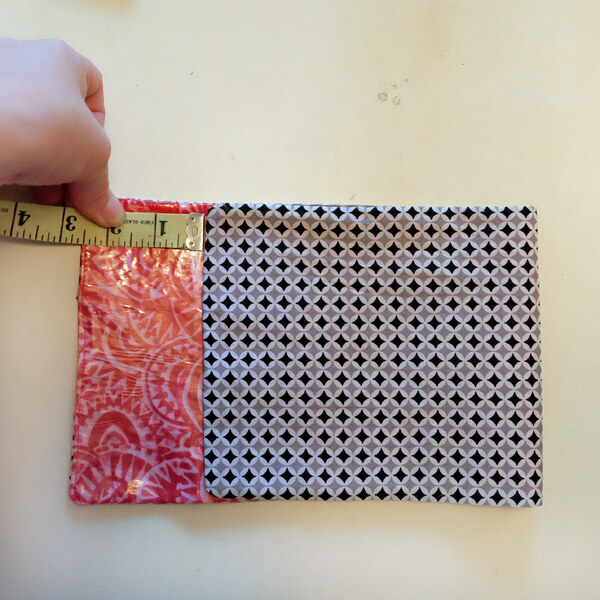
Turn your folded bag over, and fold the flap you just left back down. Leave ½” space at the top of the bag. See the photo, this one’s hard to explain.
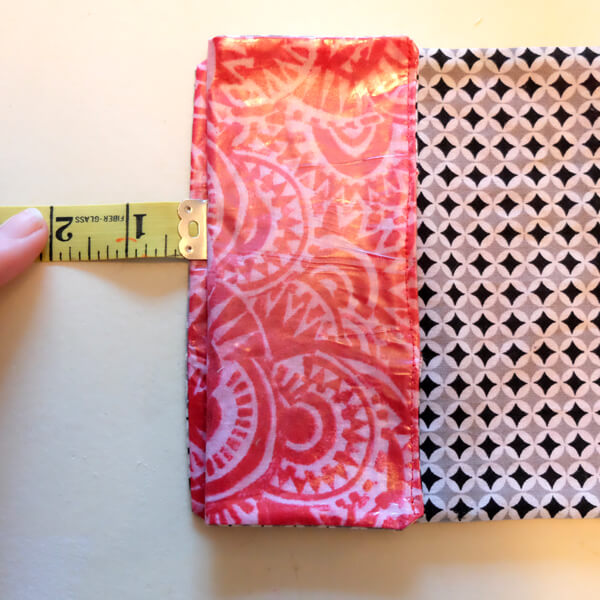
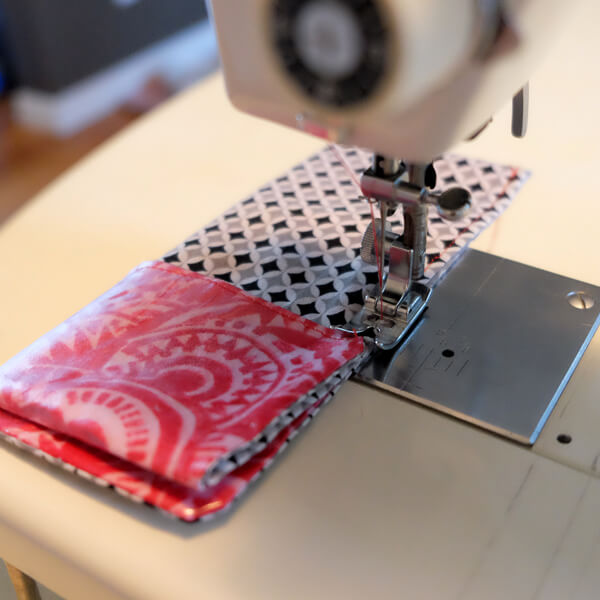
Starting at one bottom corner, sew along the side, across the top, and down the other side.
That’s it! You’re done!
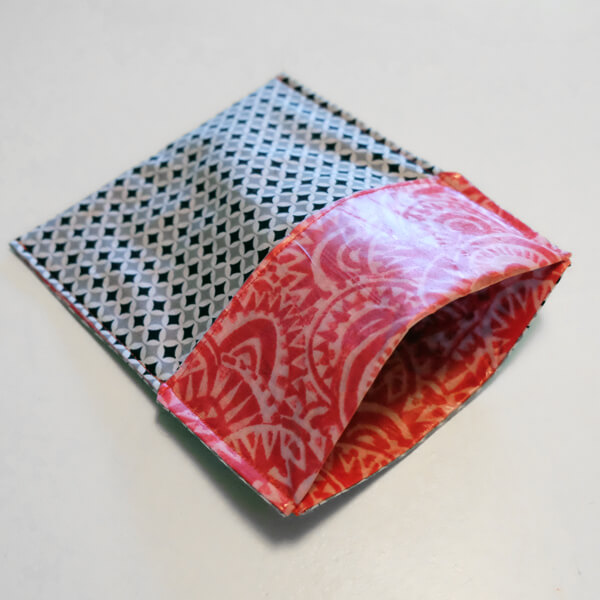
To use, put your snacks in and flip over the top of the bag. Snack away!
