I’ve taken a bit of a summer hiatus, but I promise you, it was worth the wait! I’m bringing you my favourite activity on my 10-week Southeast Asian tour– a day-long silver jewelry making class! I love seeking out new artistic experiences when I travel and this one is definitely in my top three.
In Ubud, Bali, there are several companies to choose from if you’re wanting to learn a bit about working with silver to make jewelry. Classes range in length from a half-day to several weeks, depending on what you’re interested in. After much research, I decided to contact Chez Monique and see if they could accommodate me.
Their customer service was excellent. The owner, Wayan, returned my inquiry email right away and worked with my schedule to find a time that suited me. We had to exchange a few emails due to closures around the Galungan holiday, but he was very quick about responding.
I booked a mid-day arrival time and found my way to the studio compound after an early lunch. What a beautiful spot! I was a bit unsure about wandering in the gate, as I couldn’t see anyone around and it is clearly also their home, but an elderly woman with a huge smile saw me and ushered me inside. The studio is tucked near the back of the compound and it was hopping! Several would-be jewelry makers were in various stages of the process. As everyone Balinese looked very busy, I wandered around and checked things out.
Eventually, Wayan was finished his conversation and greeted me, offering me some tangerines. I showed him some photos I saved on my phone for inspiration and we discussed my design. I wanted to make a ring which included a stone, so he showed me his collection of stones. I finally settled on a turquoise cabochon.
The “class” is very free-flowing. There is no structured lesson, rather the information and assistance given to you is based on your personal design choice. There were three Balinese silversmiths at all times, as well as Wayan, so even though the place was busy, there was always someone to help out or answer questions. The silversmiths had a crazy amount of patience, answering all my questions. They were even able to keep a smile going when helping a woman who broke the blade of her saw no less than 10 times.
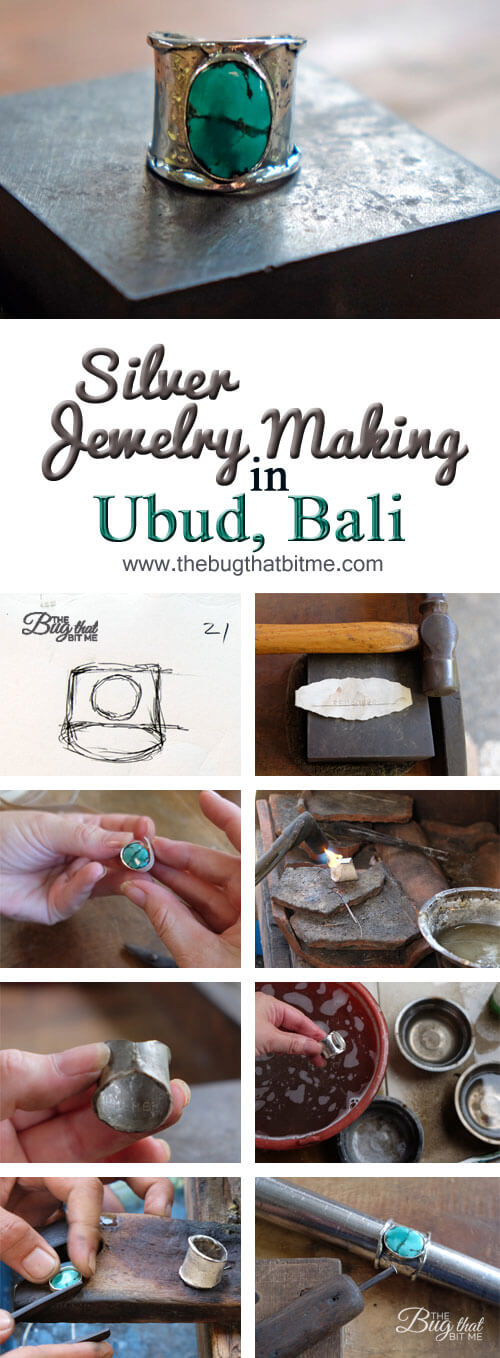
The process was so much fun! I will lay out my procedure below with photos.
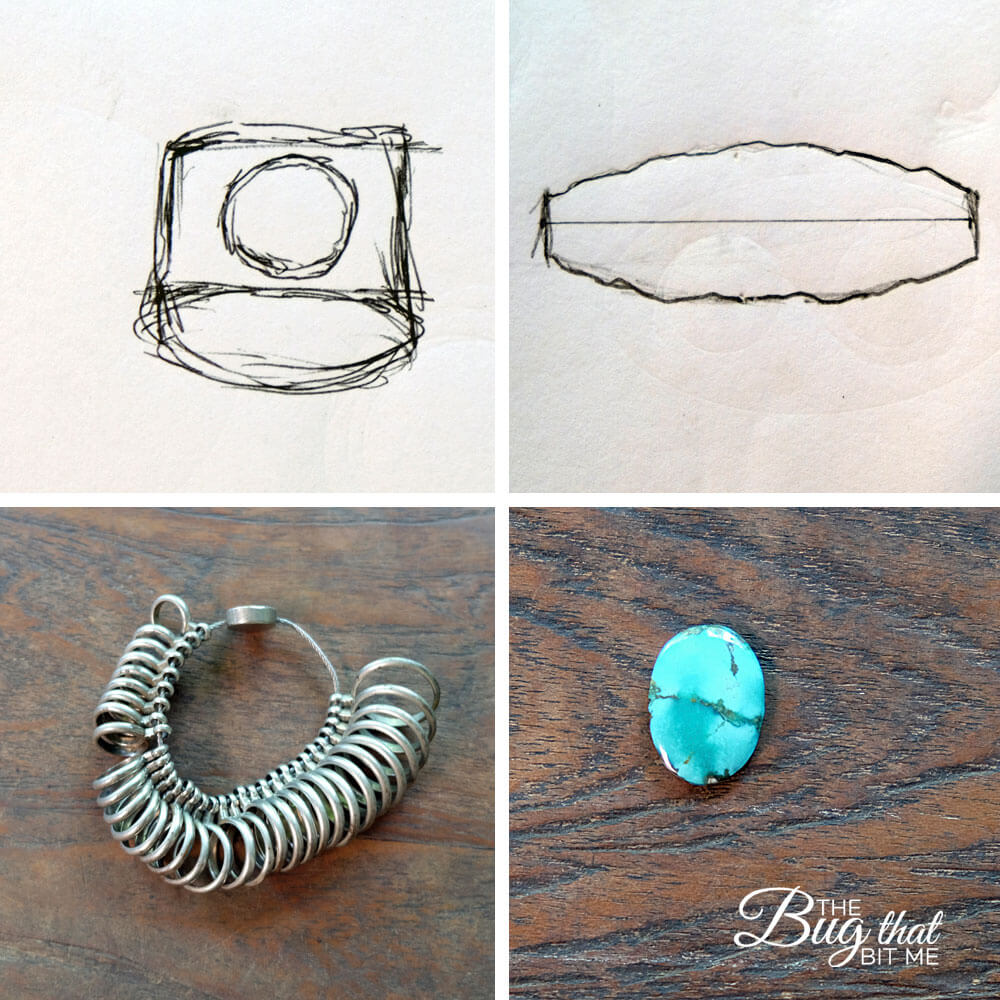
First you will need to design your piece. I wanted an organic-looking ring, nothing too polished. Wayan had me sketch out the ring. I also measured my finger with the set of rings on hand and sketched out the band in the correct size. The last photo shows my pretty turquoise stone!
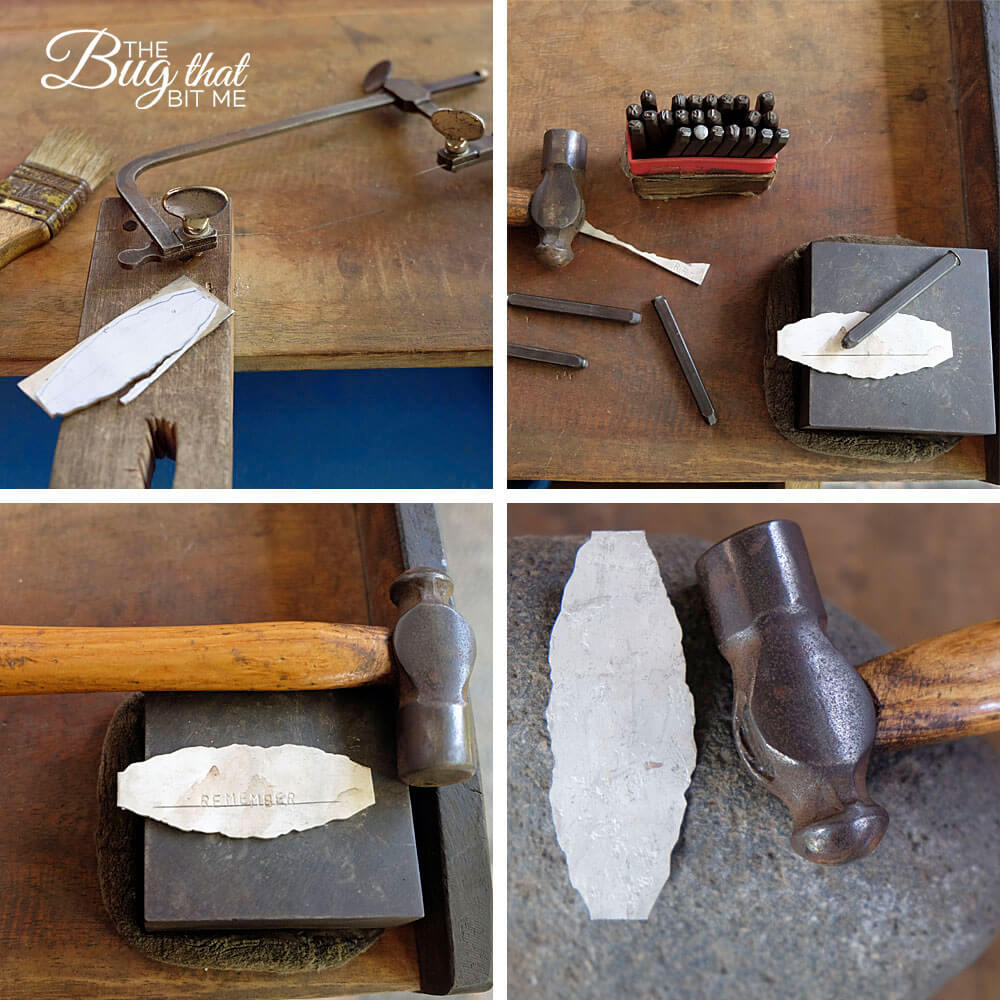
The sketch of the band gets pasted onto a sheet of silver and cut out with a hand saw. I only broke the saw blade once! Something to be proud of if I can judge by some of the others around me. This process takes a bit of time and precision, but it’s not difficult. The silver is softer than I’d expected.
Next, I stamped the word “remember” onto the back of the band. I smile now every time I see it. They have several sizes of letters to choose from. I had to pound with my hammer three times to get the perfect indent. Make sure you don’t move the stamp!
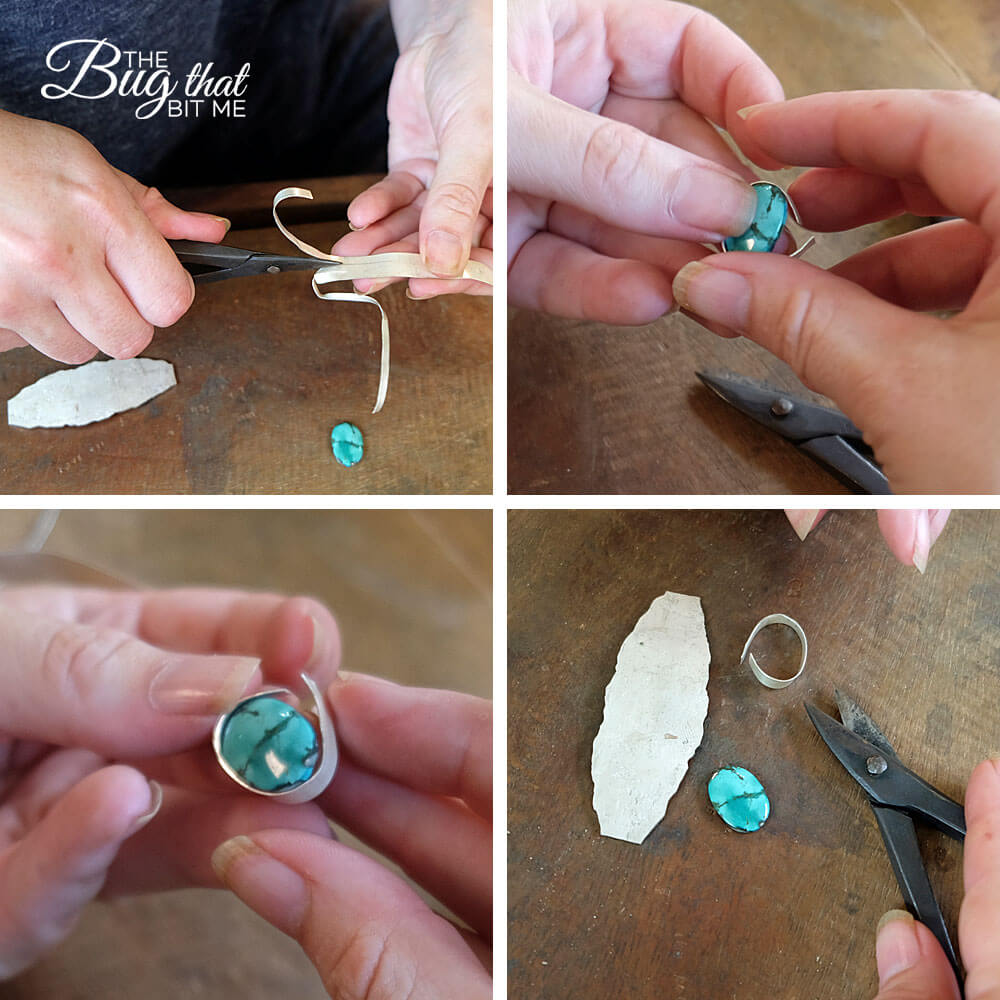
The next step is to cut a strip from thinner silver with snips. This is to wrap around the stone and will eventually be attached to the band.
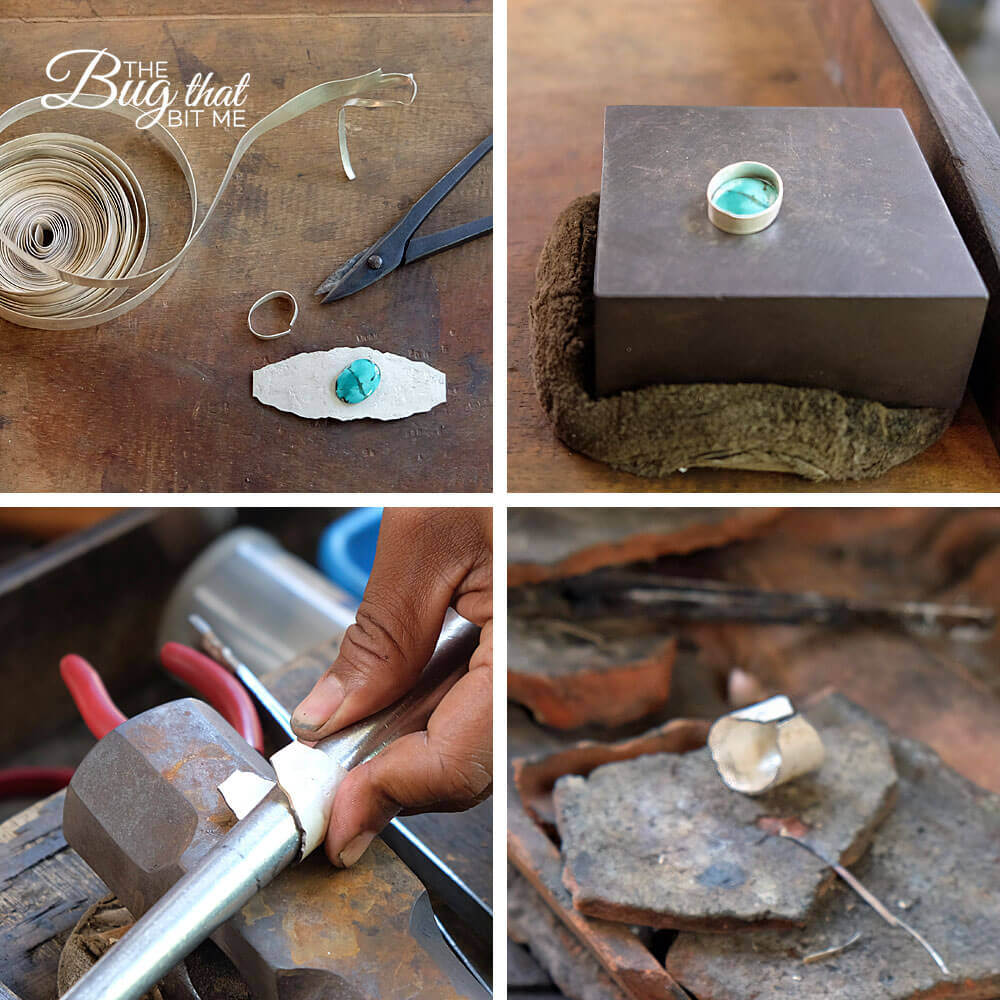
The thin strip of silver is soldered together to form a ring around the stone.
The band of the ring gets hammered around a form to make it circular. This takes some muscle!
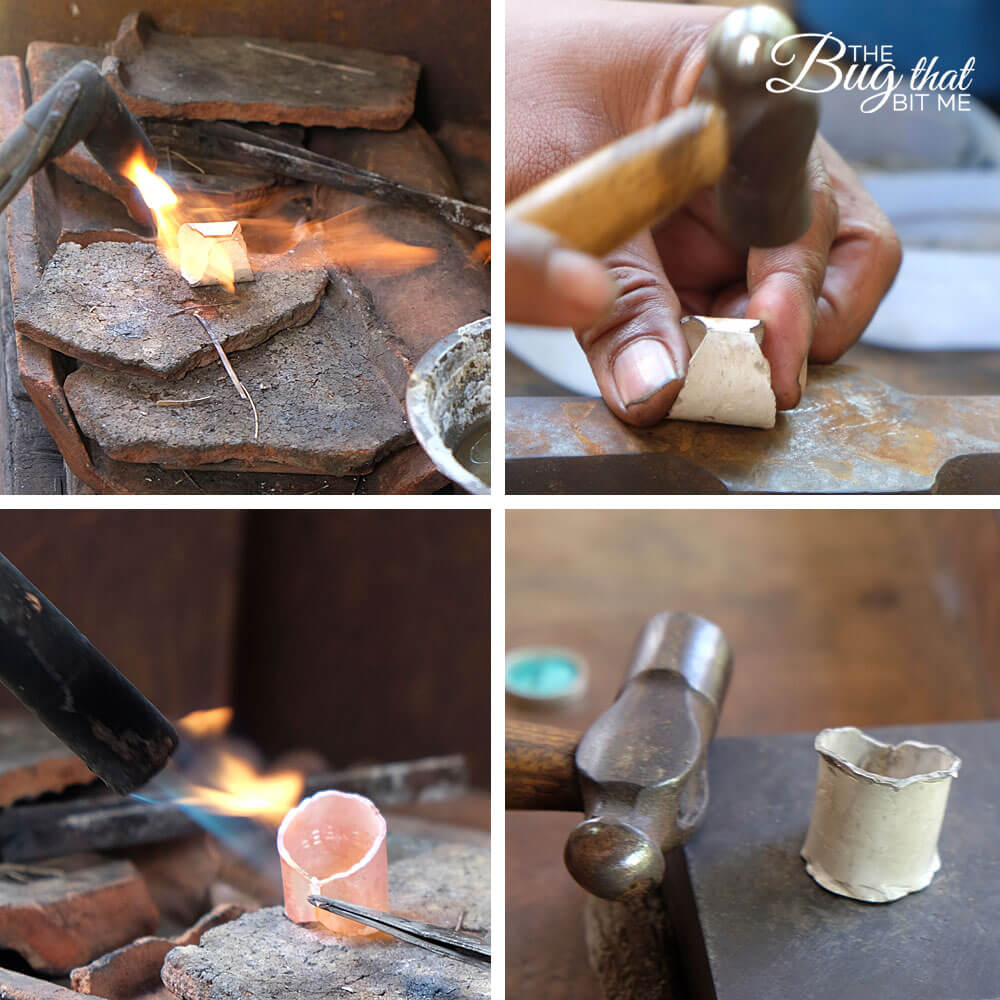
The band gets heated with the blow torch and finally, hammered into its final shape. I had help with this part. I’ve done some jewelry soldering before, but with an iron, not an open flame! It was quite the process to watch and I even got to try my hand at it. The ring gets soldered together while it’s red-hot. It’s worth noting that we had to break this solder bond– twice– to resize my ring. It was too big. Guess I need more practise at the initial sizing.
I wanted to roughen the edges up, adding to that organic feel. I pulled with metal tools, hammered away, tried to roll the edges over. It took a ton of banging and pulling and sweating! We continued to heat the ring to make the metal softer, bang, pull, heat, bang, pull, heat. You get the idea.
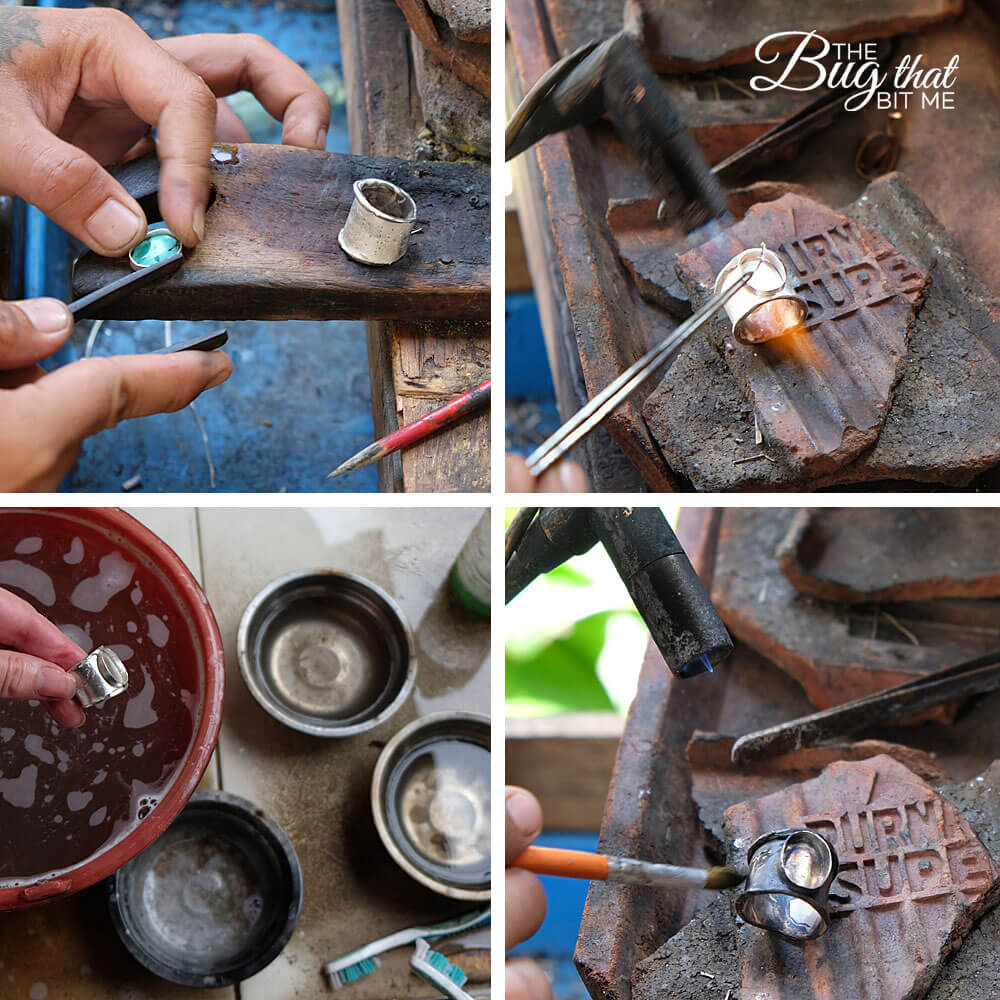
Next, the strip for the stone gets soldered onto the ring band. At this point I’m getting excited as it’s all coming together!
I take my ring to some chemicals to scrub off the flux residue. A final wash in water reveals my shiny silver ring!
I paint on a patina to add some depth and age to my ring. The black patina will stay in the crevices, but come off on most of the piece.
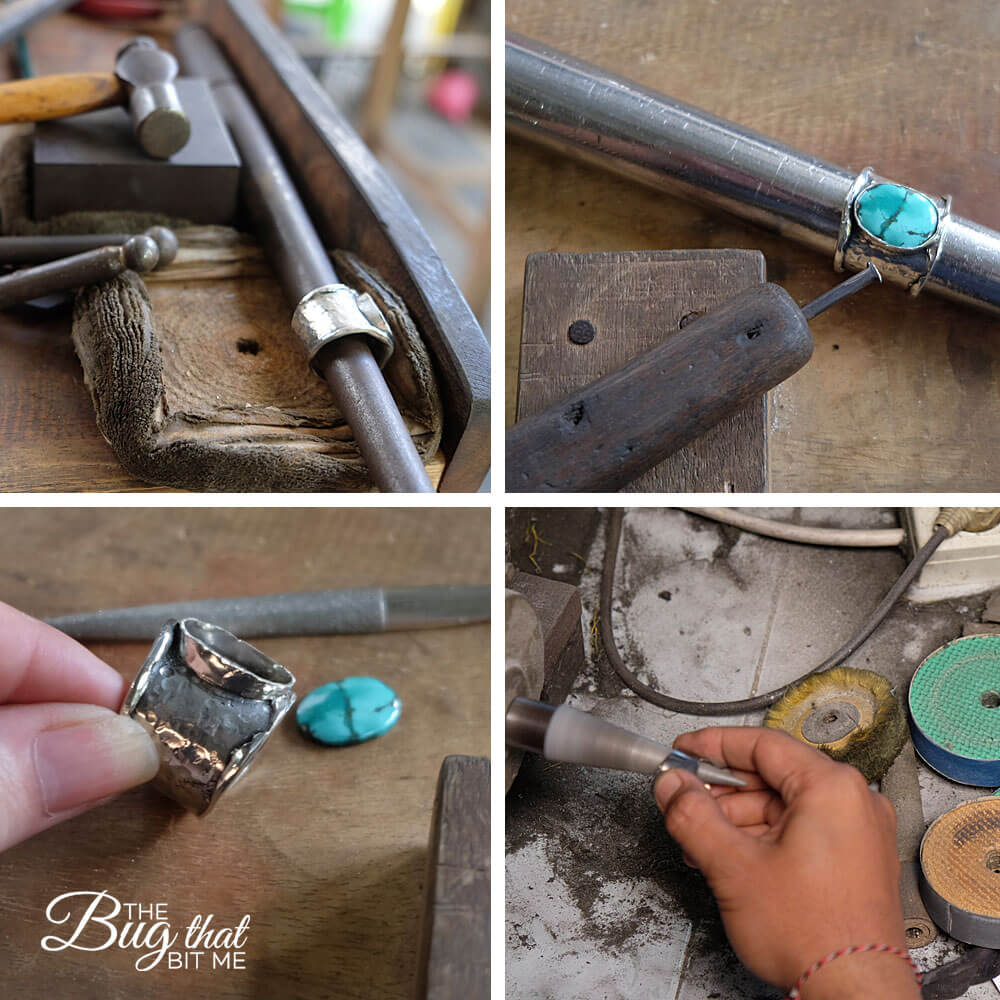
At this point, I was close to finished, but wanted my ring to look more beat up. Wayan set me up with several tools to hammer into the silver band to roughen it up. I also filed off the rough points on the edge I turned over.
My ring also takes a spin on the polisher to take off some of the patina and shine things up.
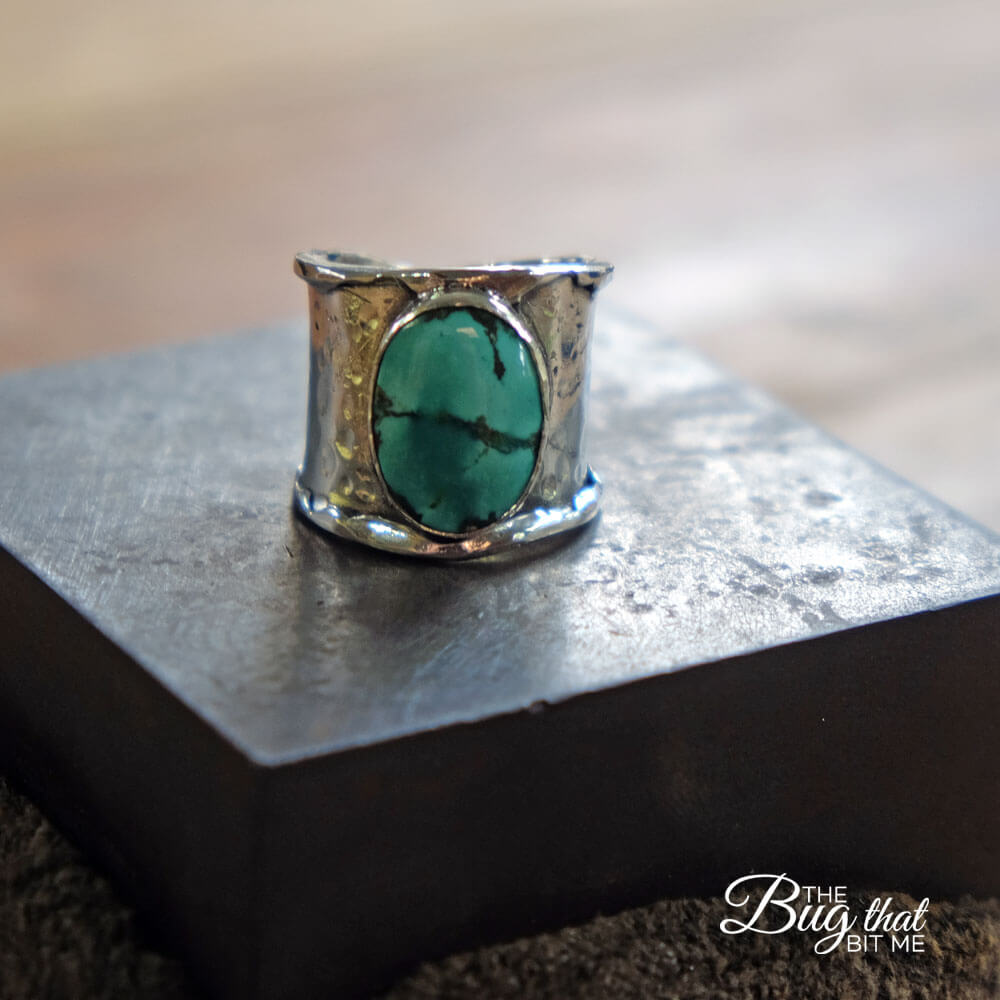
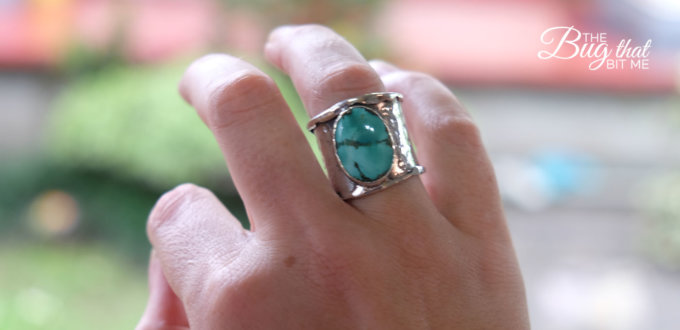
And voila! My one-of-a-kind ring is complete! I love it!
I saw a bit of everything being made during my day at Chez Monique– necklaces, bracelets, rings, earrings, even a hair ornament. Both men and women really seemed to be enjoying their instruction and everyone walked away pretty pleased with what they created. The silversmiths are friendly and insanely talented. They freely share their knowledge and genuinely seem happy to help you create your vision.
Most items cost 450,000 rupiah (about $34 US), which includes instruction and up to 10 grams of silver. I ended up paying 700,000 (about $53 US) for my ring. This included the stone and extra silver. That baby is heavy! Worth every penny to me. It really does help me to “remember” that wonderful place, my zenned-out head space and the beauty of travelling.
Information
What: Chez Monique Silver Smith Class
Where: 57 Jalan Sriwedari Taman, Ubud
When: contact to book at info@chezmoniquejewelry.com. Appointment times start throughout the day
Cost: 450,000 Rupiah, more for large or complex designs



What a beautiful ring!! This would have been such an incredible experience. It’s a memory & a souvenir wrapped into one! Did you go into the class with an idea for a ring or did you make one up on the spot?
I had a couple ideas and Wayan was incredibly patient and wonderful in assisting me to create my vision. It was a really fun experience.
Wow!! Didn’t know that a jewelry making class exist. That’s so cool, so who doesn’t like jewelry? This is such a great and unique experience. Enjoyed every word on this article and also the result!
Thanks so much for the lovely comment, Nuria! I can’t wait to visit Ubud again to try my hand at something else!
Whose not a great fan of jewelry, and what a way to make it more personal by creating your own? Lovely design too. Not something i would have thought doing whilst out in Bali either 🙂
Thanks for the comment! I found tons of artistic classes to take in Bali. I also took a great batik class. Post coming soon!
This is the most unique travel post I read in a long time. What a great experience – making your own piece of jewellery with local craftsmen! That ring is beautiful and probably the best souvenir ever, isn’t it?
Jurga – Full Suitcase recently posted…Oeschinen Lake – Switzerland’s Best Kept Secret
What a lovely comment! Thanks 🙂 It is by far my favourite souvenir! And also perfect for us long-term travellers who have very little room in their bags for much more than a ring!
This looks so cool and HARD! I would love to take a jewelry making class. Definitely adding this to my list when I go to Bali. By the way, your ring turned out beautiful!
Melissa recently posted…Hotel Eisenhut: A family-friendly review
It wasn’t too hard as the artisans there are really skilled and guide you every step of the way. They’ll give you as little or as much help as you like. I think you’d love the class! I definitely recommend it. Thanks for the comment 🙂
What a great idea, and a unique experience! When I was in Bali we went to a silversmith to buy some beautiful jewelry, but I didn’t know you could also make it – now I need to go back! Thanks for the awesome post and travel inspiration 🙂
There’s always a reason to go back to Bali! Thanks for the comment!
What an amazing way to get home with the most unique souvernir ever! I like that you also designer it yourself. That gives you the whole process.
It really was a lot of fun. A lot of people comment on it and it’s great to say “I made that!”
How interesting! and rewarding to own something you designed. I love seeing things being made. I can see why you loved it so much.
Thanks so much for the comment, Laura!
I seriously can’t believe that ring is hand-made! It’s so pretty, and I bet it’s more meaningful for you since you made it yourself 🙂 This is such a great idea for a souvenir, love it!
That’s so nice of you to say! It is definitely more meaningful, and I love that they encourage you to imprint a word or a name on the piece you make too. Thanks so much for the comment, Sassy!
Such a lovely design and the colour is fantastic! It’s nice to have a souvenir that really brings memories, rather than bought in a shop along with thousands of others.
Absolutely! Thanks for taking the time to comment, Leanne!
That is crazy cool! What an amazing souvenir to take home from Bali. They say if you work for something, you enjoy it more. Do you think that’s true? Either way, stunning ring and thanks for sharing this unique experience!
I totally agree, Jessica! I’ll always remember the fun day I had working on my ring, learning something new, and getting to spend some time with warm Balinese artists! Thanks so much for the comment!
Learning and doing – the best kind of travelling! What a wonderful souvenir.
I agree, my favourite kind of travel! I loved Ubud for all the artistic offerings. So many talented Balinese willing to share their knowledge!